|
|
How to create satin stitchThis tutorial is based on the netting extension from this
web site. Scroll down to find and download the netting.py and netting.inx. This extension will draw a path of straight lines through the
nodes of the selected path in this manner: first, last, second, second last, third.... To install an Inkscape extension follow
these instructions. If you would like to know more
on this effect read this forum post.
I want to satin stitch the border of this leaf and start by copying the inner part and reduce the size slightly. Make sure that the path is unclosed at the tip of the leaf. If the path is a closed path you need to
select the node where the stitching should start and find the "Break path at selected nodes"-button in the upper left corner of your screen.

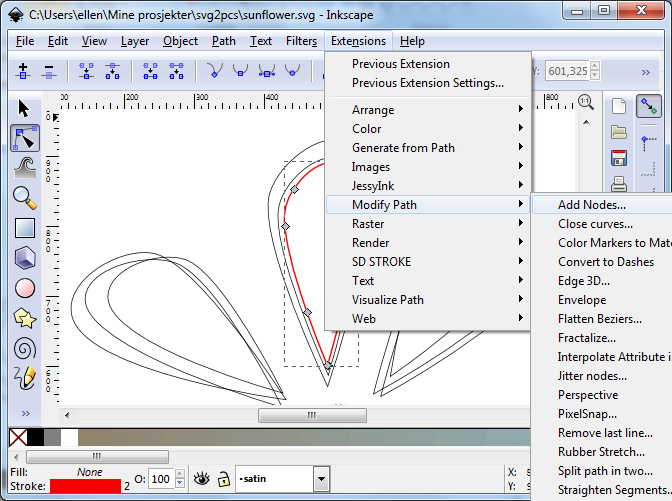
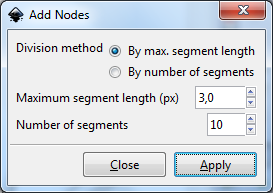
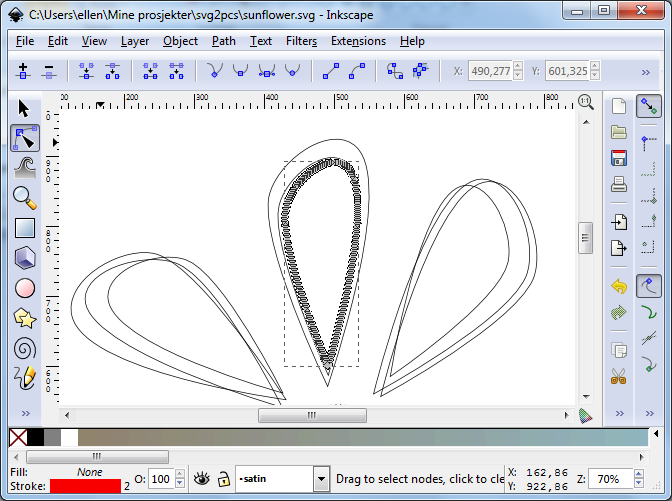
Then I use the Add Nodes extension where I can set the maximum segment length for the nodes around this path i.e. the spacing between
the zigzag turns. 1px correspond to 1/10mm so I try 3px spacing to get approx 3 zigzag turns per mm.
Here is the resulting nodes.
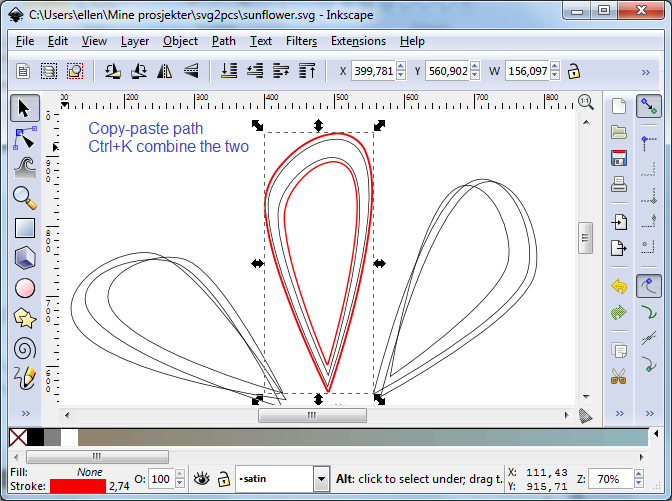
Now I copy-paste the path and resize the copy to be slightly larger than the outer part of the leaf. The two paths now need to be
combined (Ctrl + K).
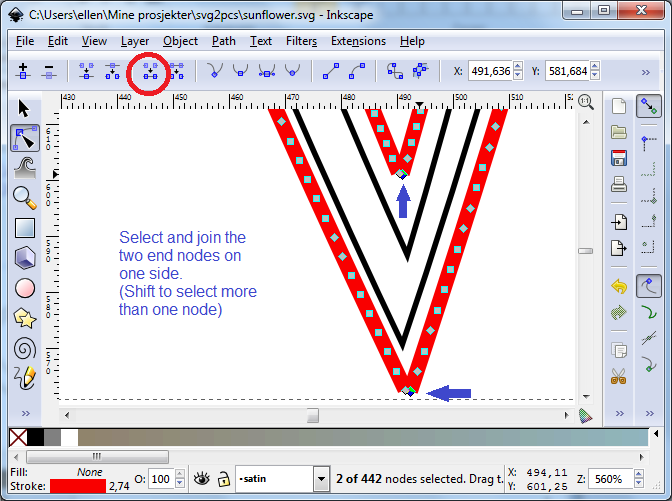
Zoom in to the end nodes and join the two combined paths on one side. This can be done by selected the two end nodes (press Shift to
select more than one element) and press the "Join selected end nodes with a new segment"-button on the upper left corner of your screen.
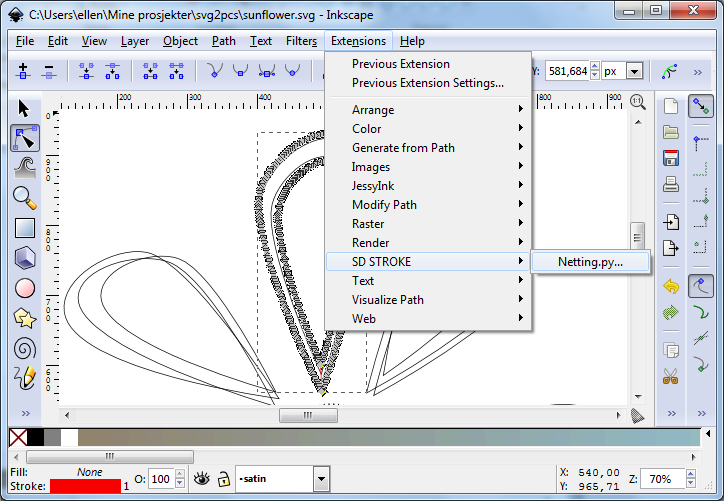
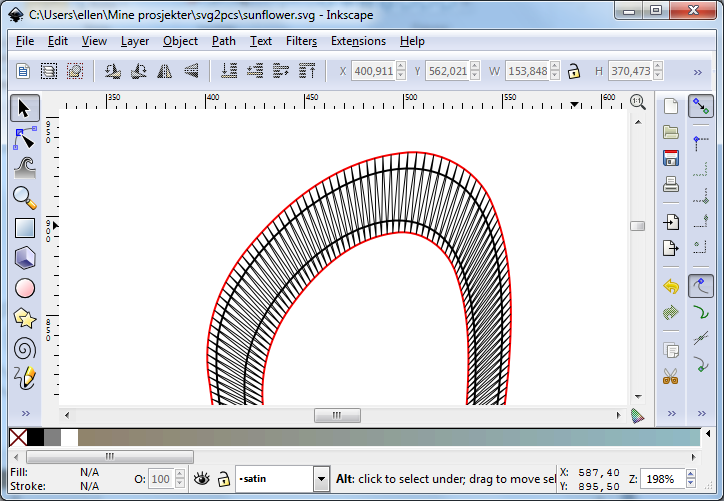
Now you are ready for the netting effect. You will be asked for "seroke with". That is just a misspelled "stroke with" and I use
0.5-1 px to see what I'm doing.
The resulting satin stitch.
|
This website has been out of order for some months. I'm sorry about that. The code is now updated to PHP 7.2.
|
Tutorials - How to design your own embroideries using Inkscape and svg2embroidery |
|
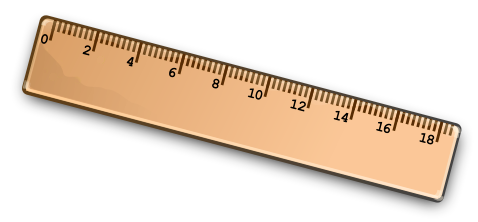
Get the size and dimensions right.
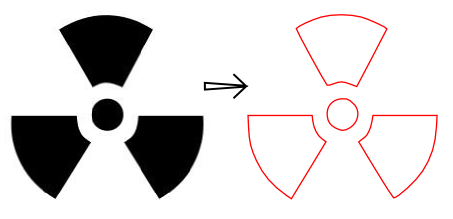
How to trace a raster image to create vector grafics using Inkscape.
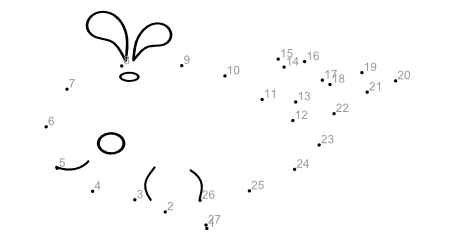
Get the path order and direction right to minimize jump stitches. This tutorial demonstrates
available tools in Inkscape to help you control this.
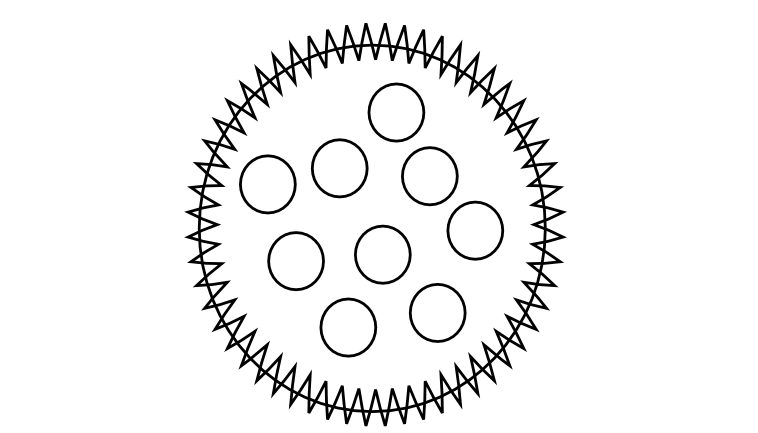
How to convert a path to a regular zigzag path using Inkscape.

How to create fill stitch using Inkscape.

How to create satin stitch using Inkscape.
|


|
My results |
|
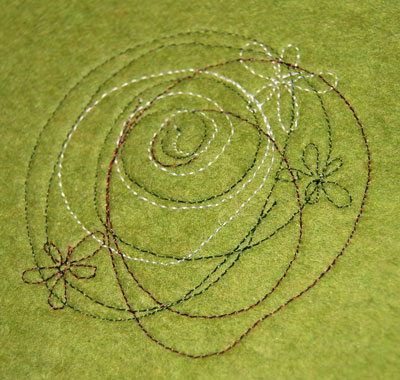
Here is my first svg2embroidery test. This is going to be a hot pad or something like that.
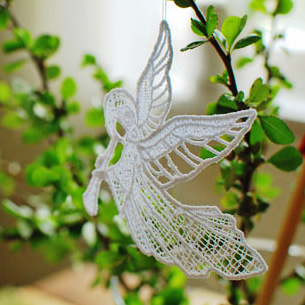
Create FSL (Free Standing Lace) by drawing the paths in Inkscape. The tutorial on automatically
creating zigzags might be useful.
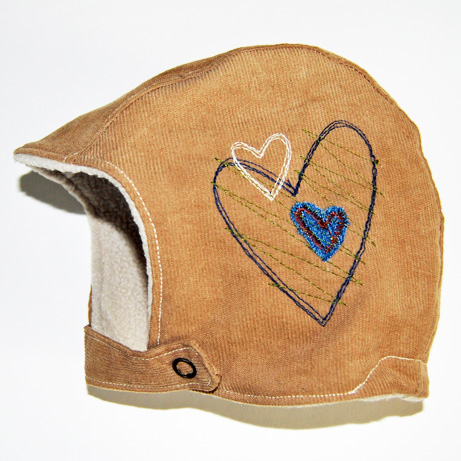
A cute little and simple embroidery suitable for baby clothes.
More images here
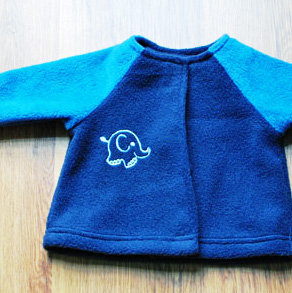
A little elephant for a little baby boy. Read more about creation of satin stitches
here.
|
|
Some inspiration? |
|
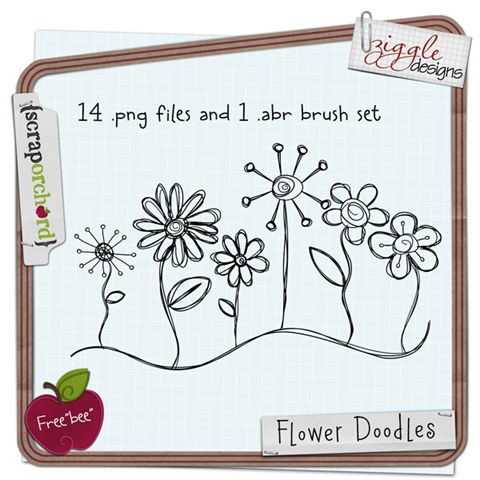
Scrapbooking stamps or brushes can be sewn on fabric or on paper. This image is a freebie kit
from Ziggle designs found at DigiScrapDepot.com
Convert hand embroidery patterns to machine embroidery. Could be nice on a blouse for example.
This image is a free pattern from Needle'nThread
|